
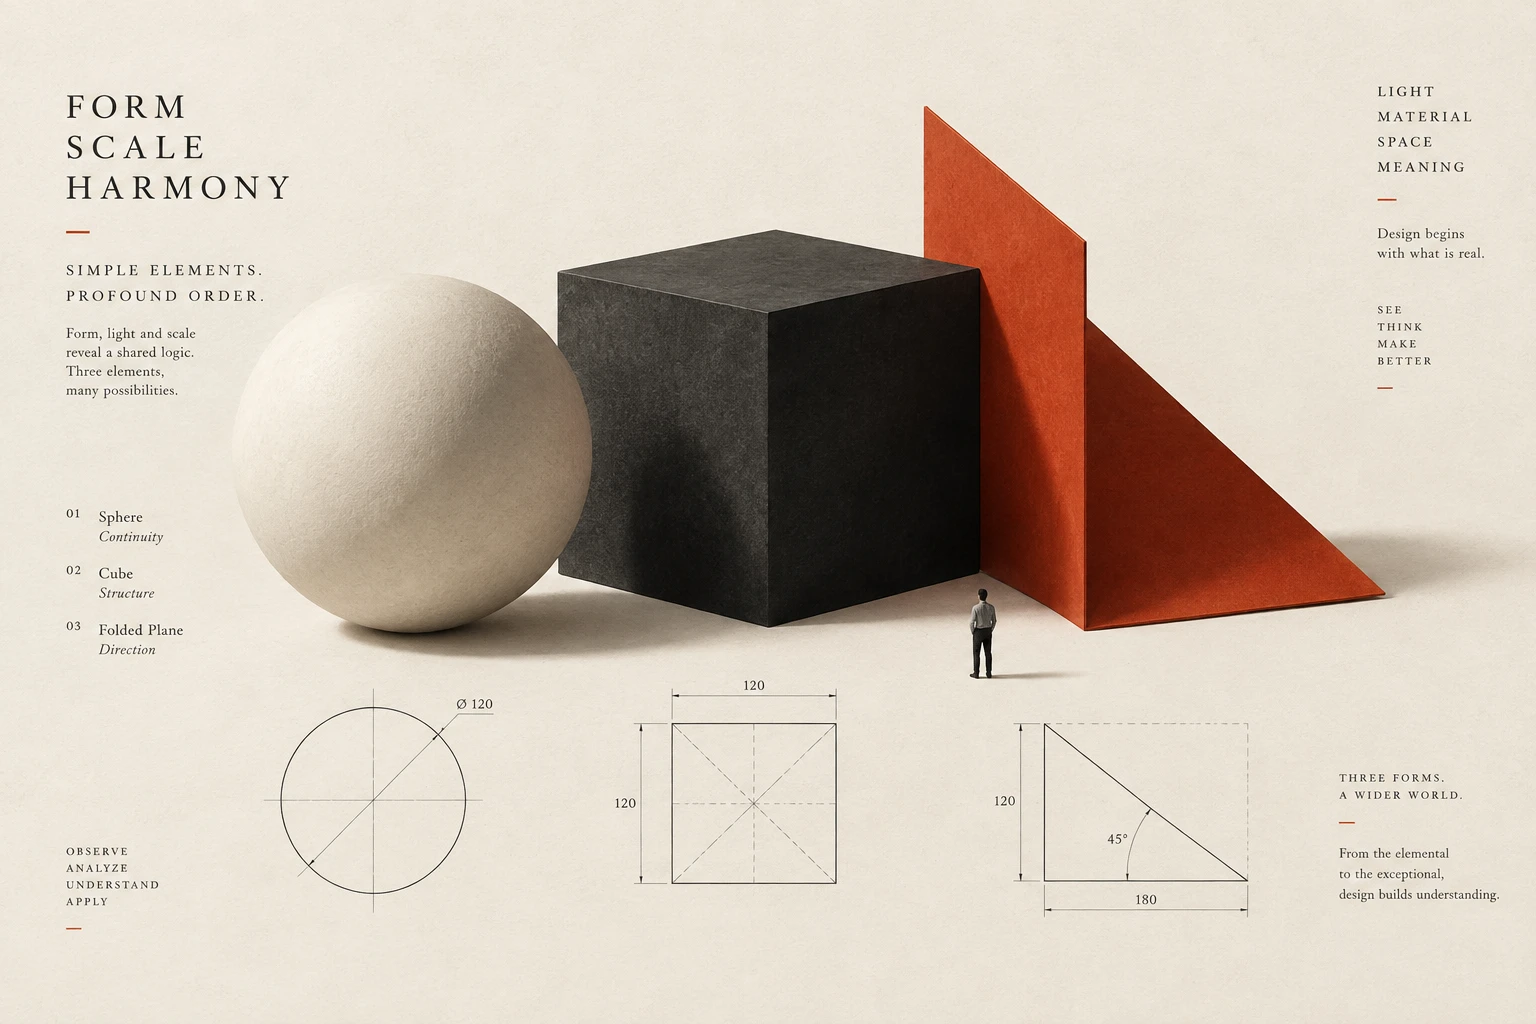
05 / Volume

3D & Spatial

Make 3D work clear in the frame and practical to deliver. Establish lighting, scale and camera choices, then validate performance in the intended viewer.

3D & Spatial specimen
Principle 1 of 4 · 01Full entry

Establish light before refining materials

The idea

Neutral materials can help you see whether the lighting describes the object clearly.

Look for a readable silhouette, useful shadow detail and enough separation from the background. Adjust the camera and lights before relying on surface effects to provide all the interest.

Then test the actual materials. Glass, metal and translucent surfaces interact with light differently, so a neutral pass is a starting point rather than a final lighting solution. Refine reflections and highlights around the features the image needs to explain.

How to see it

A simple material pass helps reveal form and shadows before detailed surface work.

Terms used in this lesson

The parts

Key light
The main light shaping the subject.
Fill
Additional illumination used to control shadow detail.
Value
The distribution of light and dark in an image.

In practice

  • Check form with simple materials
  • Inspect shadows and separation
  • Retest with the intended surfaces

Avoid

  • Using highlights to hide an unclear silhouette
  • Assuming neutral and reflective materials behave alike
  • Reviewing only at an enlarged render size
Test

Compare the neutral and finished renders at their delivery size. Can you still identify the important form and detail without highlights obscuring them?
Principle 2 of 4 · 02Full entry

Make scale understandable

The idea

An isolated object can be difficult to judge in size.

A familiar neighbour, a dimension label or a view of the object in use can provide context. Choose the reference that helps explain the object without competing with it.

Keep scene units consistent and check the relationships between objects. Camera position, framing and depth of field also influence the impression of scale. If accurate size is important, do not rely on visual cues alone: include dimensions or another explicit reference.

How to see it

A familiar neighbour provides a clue to size. Use explicit dimensions when an estimate is not enough.

Terms used in this lesson

The parts

Scene units
The measurement system used consistently in a model.
Reference
An object or dimension that helps establish size.
Perspective
The view-dependent relationship between near and distant objects.

In practice

  • Keep scene units consistent
  • Include context when size matters
  • Provide dimensions when accuracy is required

Avoid

  • Relying on blur alone to imply scale
  • Using misleading reference objects
  • Confusing framing with physical dimensions
Test

Ask someone unfamiliar with the model to estimate its size. If their answer is far from the intended scale, add clearer context or dimensions.

Principle 3 of 4 · 03Full entry

Compose through the camera

The idea

The camera determines which parts of a scene are visible, how forms overlap and what occupies the frame.

Begin with the feature or relationship you need to show, then choose the height, angle and distance that reveal it clearly.

Focal length changes the field of view; camera position changes perspective. Review them together instead of treating a lens choice as a shortcut to a particular mood. For an interactive model, provide a useful starting view and a way to return to it, while allowing the movement needed to inspect the object.

How to see it

Different camera choices emphasise different relationships. Neither framing is automatically correct for every brief.

Terms used in this lesson

The parts

Focal length
A lens property that influences the field of view.
Viewpoint
The camera's position and orientation.
Default view
The initial framing shown before interaction.

In practice

  • Choose the feature the camera must explain
  • Review camera position and focal length together
  • Provide a useful default view

Avoid

  • Treating a lens as a substitute for framing
  • Allowing navigation that cannot be recovered
  • Obscuring the important feature in the opening view
Test

Check the starting view and the views a user can reach. Is the important feature visible, and can someone recover after moving away from it?

Use the Aspect Ratio & Frame to calculate the delivery frame dimensions before checking the camera composition in your 3D scene.

Principle 4 of 4 · 04Full entry

Set a performance budget for 3D

The idea

A 3D asset has to download, decode and render before someone can use it.

Geometry, textures, materials and lighting all contribute to that cost. Agree on the expected devices, network conditions and useful loading time before investing in detail.

Measure a representative scene early. Spend detail where it affects the silhouette or the intended close-up, and simplify what cannot be seen. File size alone does not predict runtime performance. Review memory use and responsiveness as well, and provide a useful fallback while the model loads or when it cannot run.

How to see it

Write measurable delivery goals into the brief, then validate them with the actual scene and target device.

Terms used in this lesson

The parts

Geometry
The model's shapes and surfaces.
Texture
Image data used to describe a surface.
Transfer size
The amount of data downloaded for the asset.

In practice

  • Set delivery goals for representative devices
  • Measure a working scene early
  • Provide a useful loading fallback

Avoid

  • Optimising only the download size
  • Detail that costs performance without aiding the view
  • Waiting until delivery to test a phone
Test

Open the delivered scene on a representative phone and connection. Record download size, time until usable and interaction quality, then compare them with the agreed budget.

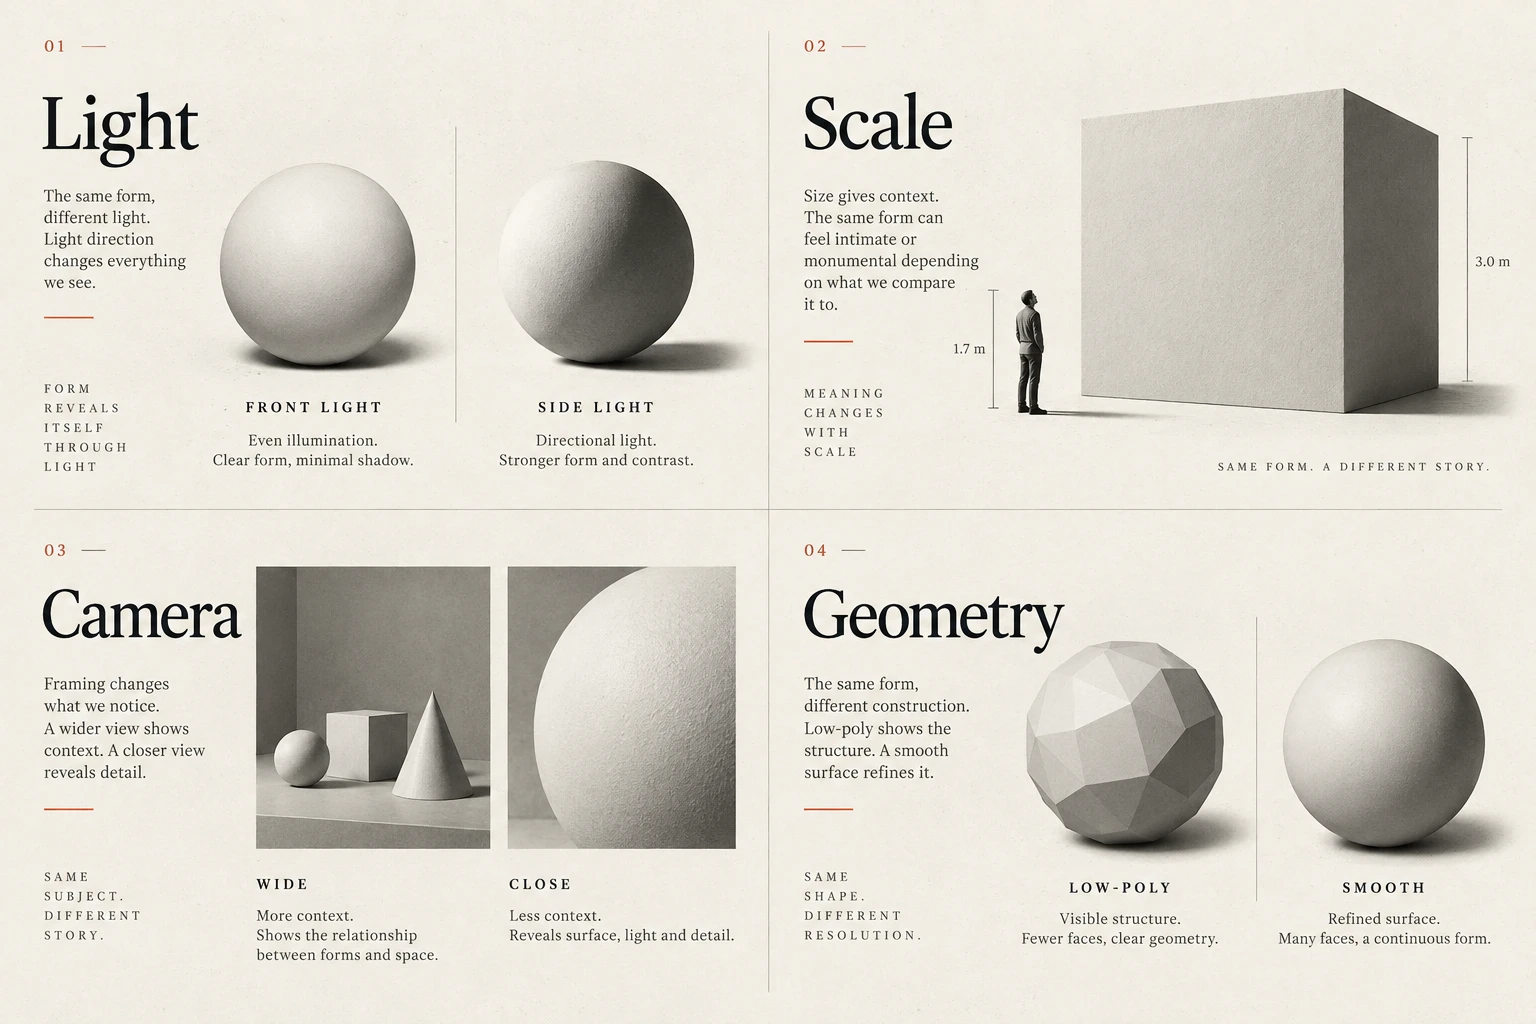
3D & Spatial, in practice

View full size ↗
Four visual examples of 3d & spatial: establish light before refining materials; make scale understandable; compose through the camera; set a performance budget for 3d.

Four principles at a glance

  1. 01

    Establish light before refining materials

    Use a simple material pass to check form, shadows and separation.

  2. 02

    Make scale understandable

    Use consistent scene units and recognisable context when size matters.

  3. 03

    Compose through the camera

    Choose a viewpoint that explains the subject and supports the intended image.

  4. 04

    Set a performance budget for 3D

    Agree on delivery limits and test the experience on representative devices.

Apply it

Score your work against this discipline.

An audit reviews what you have shipped against all ten disciplines, tested with assistive technology and on real hardware, and returns a prioritised plan.