
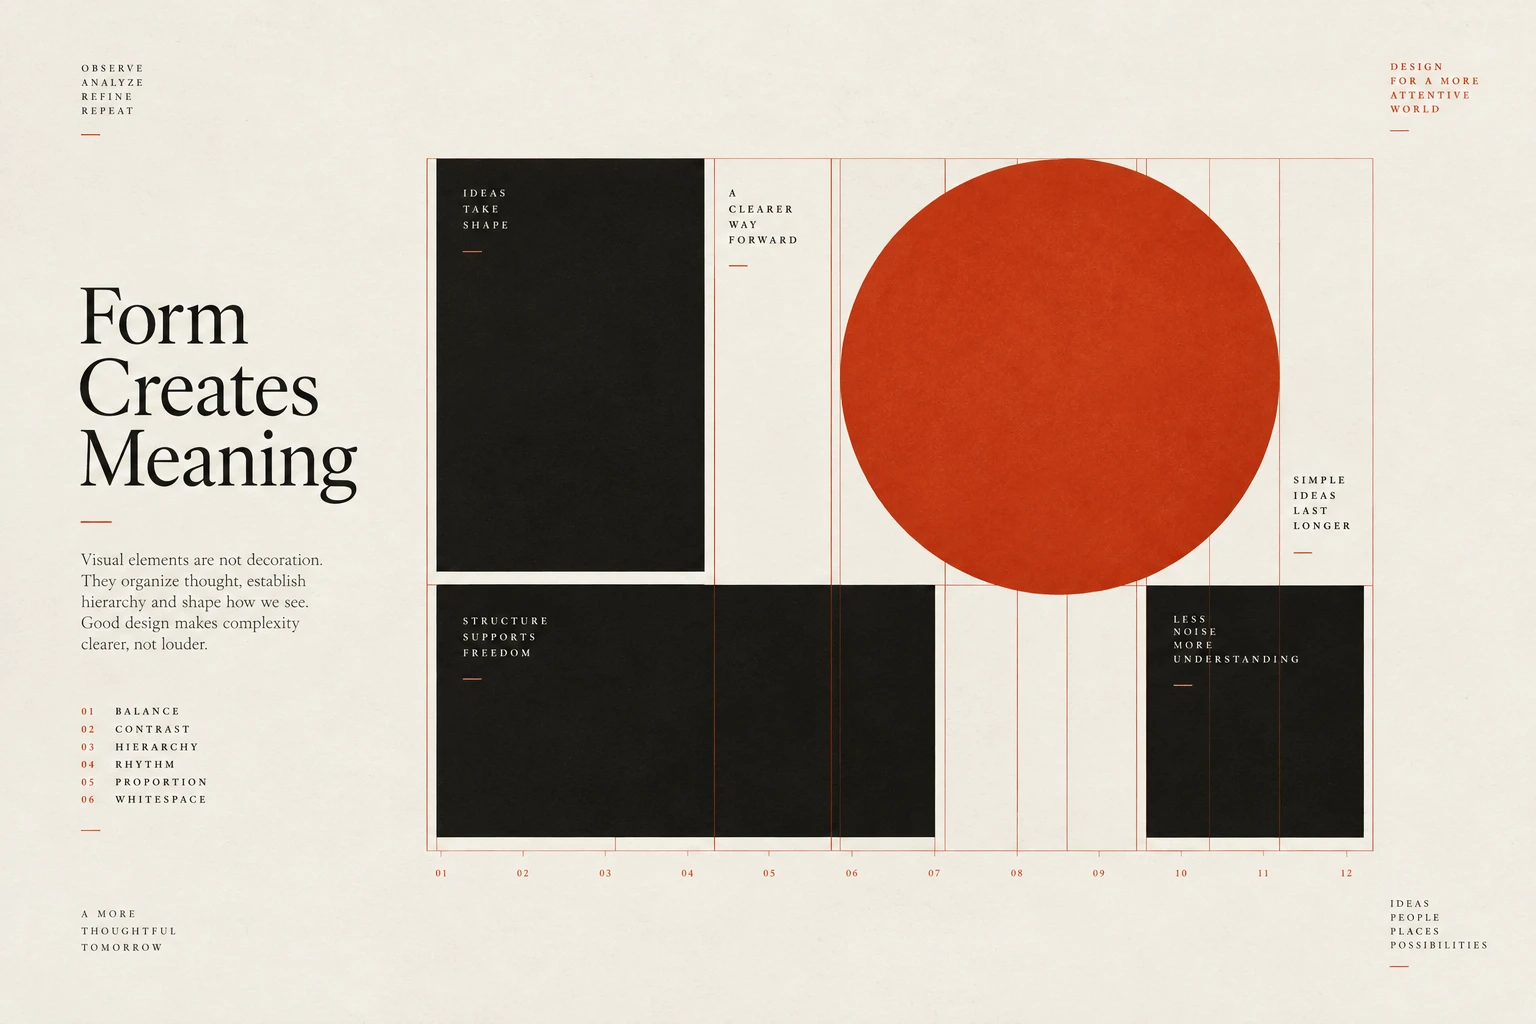
03 / Structure

Composition

Arrange content so its relationships and reading order are clear. Use grids, spacing, alignment and deliberate emphasis to guide the page.

Composition specimen
Principle 1 of 4 · 01Full entry

Use the grid to make emphasis deliberate

The idea

A grid gives text and images shared edges and repeatable spacing.

Those relationships make a page easier to scan and extend. Start by placing the ordinary content clearly; then decide whether a particular image or statement would benefit from a deliberate departure.

An oversized image or offset heading can create emphasis when the surrounding layout is stable. The number of departures is a design decision, not a rule that every page must break exactly once. Each exception should have a purpose and still work at narrower widths, with a sensible reading order.

How to see it

The guides establish order; the offset block adds emphasis. Decide whether that emphasis serves the content.

Terms used in this lesson

The parts

Grid
A set of layout guides for positioning content.
Gutter
The space between columns.
Departure
A deliberate exception to an established alignment.

In practice

  • Establish shared columns and spacing
  • Give departures an explicit purpose
  • Check reading order at narrow widths

Avoid

  • Adding offsets without a content reason
  • Forcing every page to include a grid break
  • Overlaps that obscure text or controls
Test

Show the layout guides and explain each departure. Does it emphasise something useful, and does it remain clear on a phone?
Principle 2 of 4 · 02Full entry

Use space to show relationships

The idea

Readers use distance to infer which pieces of information belong together.

A caption should feel connected to its image; a field label should belong to its input. When every gap is equal, those relationships can become harder to see.

Choose a small set of reusable spacing values and test them with real content. Borders and backgrounds can strengthen grouping, especially in dense interfaces, but they should agree with the spacing. The right balance depends on the component; inner padding does not always need to be smaller than every outside gap.

How to see it

Equal intervals leave the groups ambiguous. Different intervals make the intended relationships more apparent.

Terms used in this lesson

The parts

Proximity
The distance that helps related elements read as a group.
Padding
Space inside a component's boundary.
Gap
Space between items or groups.

In practice

  • Keep labels close to their controls
  • Use a reusable spacing scale
  • Add boundaries when they clarify grouping

Avoid

  • Equal gaps between unrelated and related content
  • Nested boxes without a clear purpose
  • Treating one padding ratio as universal
Test

Remove decorative borders temporarily. Can you still tell which labels, controls and descriptions belong together? Restore boundaries where they add useful clarity.

Use the Markdown to PDF to preview a real document and inspect how headings, paragraphs and lists are grouped on the printed page.

Principle 3 of 4 · 03Full entry

Choose clear alignment points

The idea

Alignment creates a path through a page.

Repeated left edges help readers move between headings and paragraphs; aligned columns make values easier to compare. Near-matches can look accidental, so choose the reference edge for each group deliberately.

Different content can need different alignment. Text often benefits from a shared starting edge, while numbers in a table may need decimal or right alignment. Check visible shapes as well as their containers, and avoid forcing unrelated elements onto one axis just to make the measurements match.

How to see it

Compare several near-matching edges with a shared starting edge. The latter creates a clearer scanning path.

Terms used in this lesson

The parts

Axis
A shared alignment line.
Edge
The visible or structural boundary used as a reference.
Optical correction
A small adjustment to improve the perceived alignment.

In practice

  • Choose reference edges for related groups
  • Align numbers for comparison where useful
  • Check optical alignment of icons and text

Avoid

  • Nearly matching edges without a reason
  • Forcing unrelated content onto one axis
  • Using alignment that makes values harder to compare
Test

Trace the main edges through the page. Can you explain what each alignment helps the reader compare or follow?

Principle 4 of 4 · 04Full entry

Give the page a clear starting point

The idea

A page should help someone understand where they are and what they can do.

On an article, that may be the title and introduction. In a working interface, it may be the current task, a search field or an important status. Choose the starting point around the reader's purpose.

Use position, scale and contrast to make that point recognisable, then create a clear next step. Other elements can still be prominent when the task needs them. Avoid assuming that every page needs one oversized headline or one action regardless of its content.

How to see it

Compare competing points of emphasis with a clearer starting point.

Terms used in this lesson

The parts

Entry point
The first useful information or action a page presents.
Emphasis
Visual prominence created by size, position or contrast.
Sequence
The intended progression through content.

In practice

  • Identify the reader's first task
  • Make the subject or task easy to find
  • Give the next step a clear place

Avoid

  • Several competing introductions
  • Decorative emphasis that hides the task
  • Assuming every page needs the same hierarchy
Test

Show the page briefly to someone unfamiliar with it. Ask what it is for and where they would begin, then compare their answer with your intended task.

Composition, in practice

View full size ↗
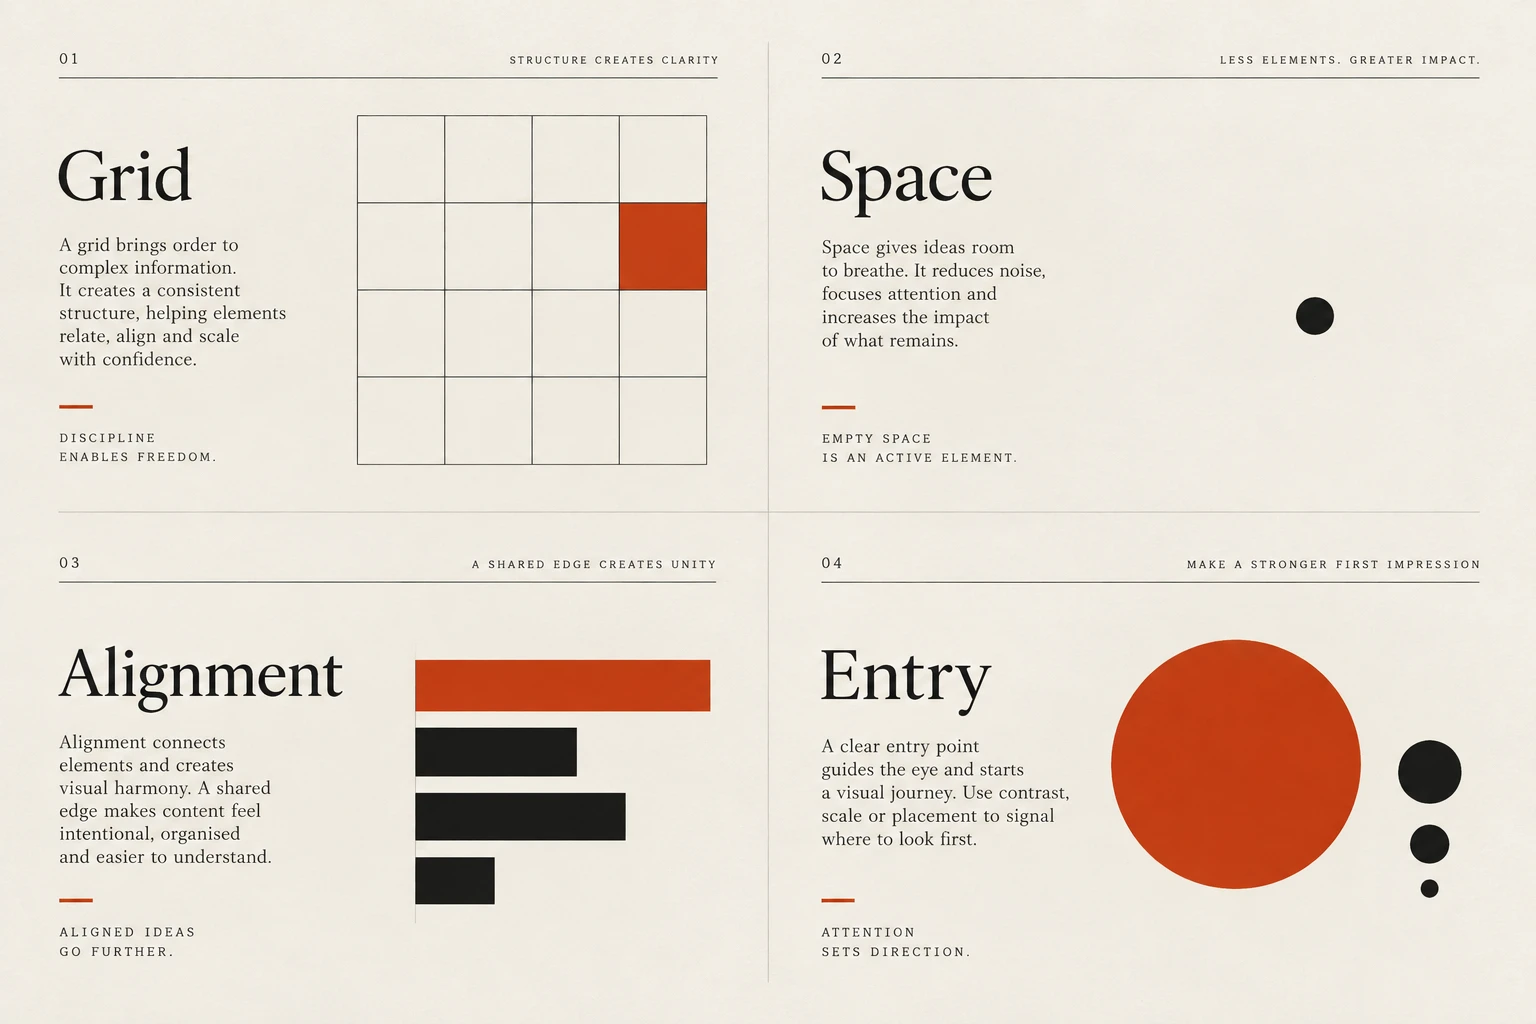
Four visual examples of composition: use the grid to make emphasis deliberate; use space to show relationships; choose clear alignment points; give the page a clear starting point.

Four principles at a glance

  1. 01

    Use the grid to make emphasis deliberate

    Establish a consistent layout before choosing where to depart from it.

  2. 02

    Use space to show relationships

    Keep related elements close enough to read as a group.

  3. 03

    Choose clear alignment points

    Use shared edges to make related content easier to scan.

  4. 04

    Give the page a clear starting point

    Make the first useful information easy to find.

Apply it

Score your work against this discipline.

An audit reviews what you have shipped against all ten disciplines, tested with assistive technology and on real hardware, and returns a prioritised plan.