
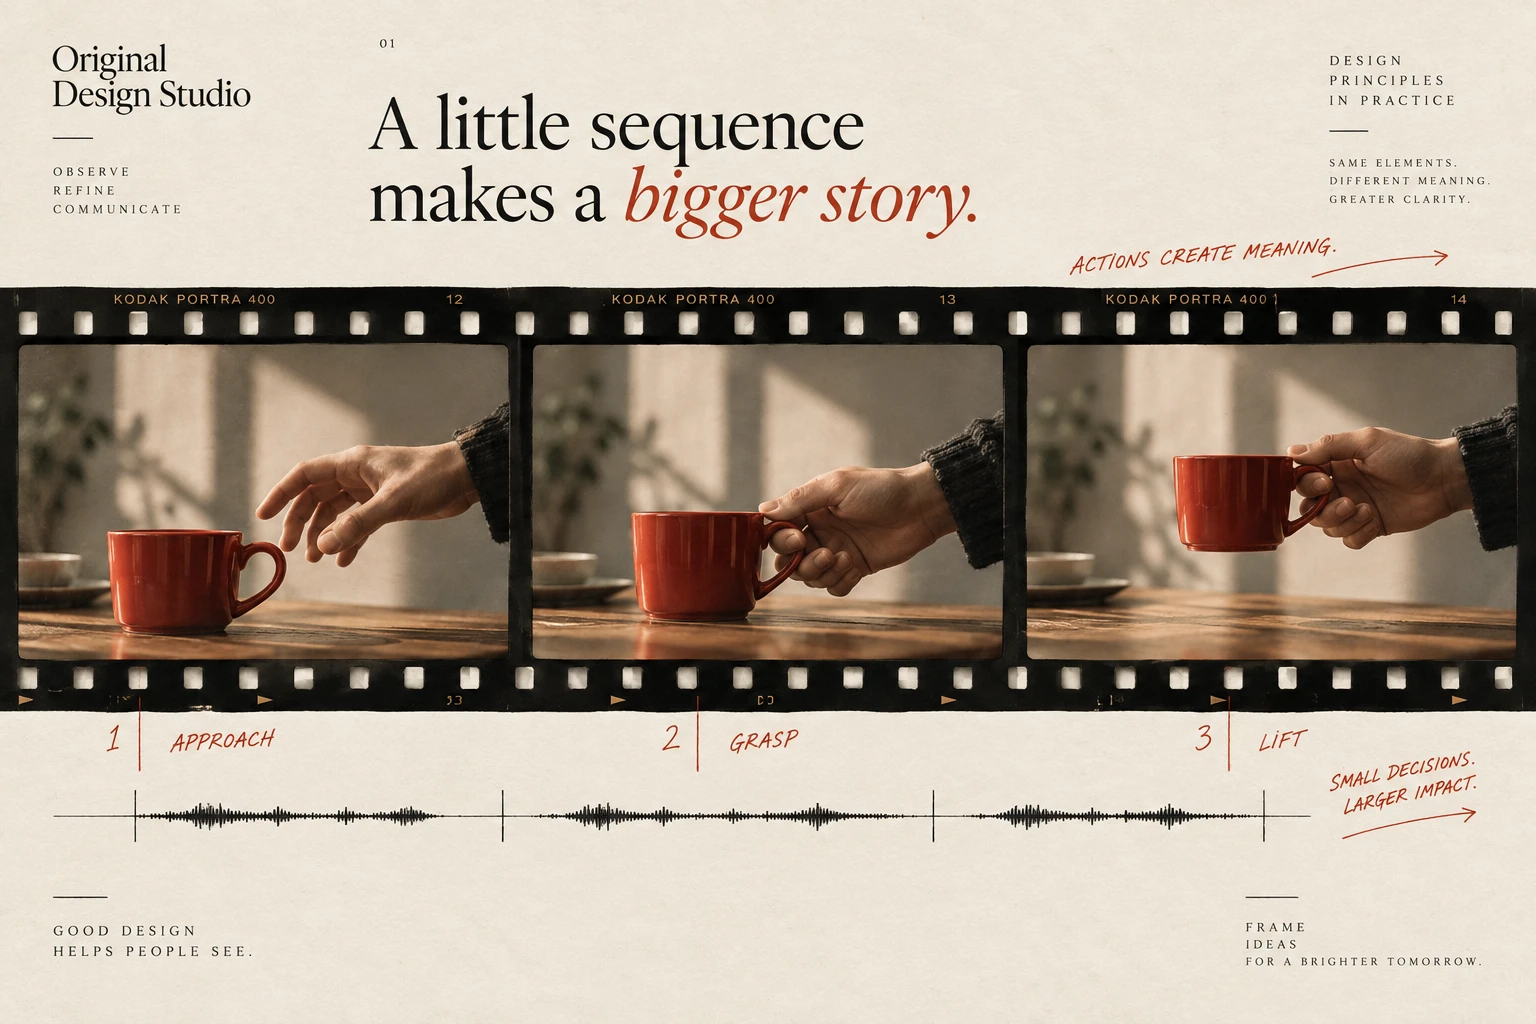
06 / Sequence

Video & Editing

Build a sequence viewers can follow. Connect actions to results, keep speech understandable and check titles in the final viewing conditions.

Video & Editing specimen
Principle 1 of 4 · 01Full entry

Cut on the change of intent

The idea

Change the shot when the next picture gives the viewer something useful.

A cut directs attention. It can reveal a result, introduce a new subject, move closer to a detail or change the emotional meaning of a scene. Decide which of those jobs the next shot performs before choosing its duration. A viewer should have a reason to look at the new picture.

For a product demonstration, think in cause and effect: show the action, allow its result to become visible, then show the detail that proves the change. Cutting away between the action and its result can make a simple process difficult to follow. Holding a shot after its useful information has been understood can be equally distracting.

Write a short sequence of beats before arranging the footage. Each beat should answer a question raised by the previous one. Music can help shape the timing, and a cut on movement can make the transition feel continuous. Neither technique supplies a missing explanation. Review the sequence without the music, then with the full mix.

How to see it

Choose the setting, show the action, reveal the result, then inspect the detail. Each shot adds information.

Terms used in this lesson

The parts

Intent
The claim this shot is making. When the claim changes, cut.
Duration
How long the idea needs. Some need two seconds. Some need eight.
Seam
A cut hidden on a movement or a sound, when continuity matters.
Argument
The one-page case, written before the timeline is opened.

In practice

  • Describe what each shot adds before deciding where to cut.
  • Keep actions and their visible results close enough to follow.
  • Use movement or sound to connect shots when continuity helps the explanation.

Avoid

  • Cutting away before the viewer can identify the result of an action.
  • Keeping a shot only to fill a musical phrase.
  • Using transitions to cover a sequence whose meaning is unclear.
Test

Mute the music. If the cuts still make sense on picture and speech alone, they are on intent. If a cut has no claim under it, it is pace.
Principle 2 of 4 · 02Full entry

Sound is half the picture

The idea

Make essential speech understandable before adding music and effects.

Begin with the information the audience needs to hear. If the film depends on a voiceover, establish a consistent, intelligible voice before adding music and effects. Listen for unclear words, abrupt edits, distracting room sound and changes in recording level. A louder final master does not repair an unclear recording.

Add the music while listening to the speech. Reduce it where it competes, then shape the transition back so the level does not jump after every pause. Ducking is this deliberate reduction around another sound. The amount depends on the voice and the arrangement; a fixed decibel difference is a starting experiment, not a reliable rule for every mix.

Check the exported mix on a small speaker and headphones at an ordinary listening level. Listen to quiet sentences as carefully as the opening. Follow the destination or client delivery specification for loudness and peak limits: there is no single target that serves every web video, broadcast programme and paid placement. Include captions so essential speech remains available when audio is off.

How to see it

The two tracks have different jobs. Keep speech intelligible while shaping the music around it.

Terms used in this lesson

The parts

Dialogue
The information carried by speech. Balance the clips before building the rest of the mix.
Ducking
Lowering one sound around another, usually music around speech. Adjust the amount and transitions by listening.
Loudness
The perceived level of the programme over time. Follow the destination or client specification.
Playback check
Listen on small speakers and headphones at an ordinary level, including the quietest passages.

In practice

  • Balance the speech clips before adding music and effects.
  • Adjust music around dialogue and listen to the transitions into pauses.
  • Check the export on small speakers and headphones, then verify the required delivery levels.

Avoid

  • Assuming a single LUFS target applies to every destination.
  • Reducing all music by a fixed amount without listening to the result.
  • Treating a clean loudness meter reading as proof that every word is understandable.
Test

Phone, half volume, arm's length, fan on. If a sentence disappears, the mix is not done.

Principle 3 of 4 · 03Full entry

Legibility survives compression

The idea

Check titles in the delivered video at the size people will watch.

The editor preview is only one stage of delivery. A platform may encode the upload into several versions, and the viewer may see a smaller or more compressed version than the master. Fine strokes, moving detail behind words and crowded captions can make reading difficult even when the source frame looks clear.

Start with the actual viewing size. Choose letterforms with clear strokes, keep each title brief and give it a stable background when the footage is busy. Allow enough time to read the words while also following the picture. Font size and weight are useful controls, but no single pixel size or weight number guarantees legibility across typefaces and frame formats.

Then inspect a representative export and the uploaded playback where possible. Match the resolution, frame rate and codec to the destination. For example, YouTube lists different upload bitrate recommendations for standard and high frame rates, so an 8 Mbps check is one test condition rather than a universal quality threshold. Check vertical crops and interface overlays in the current destination preview; their positions vary by platform and placement.

How to see it

A simplified comparison of text treatment, not a simulated codec test. Validate the final result after export.

Terms used in this lesson

The parts

Letterforms
Stroke strength, spacing and shape all affect clarity; a weight number alone does not predict it.
Backing
A stable area behind the words that separates them from moving detail.
Captions
A text version of essential speech, timed to the actual audio and checked after delivery.
Safe area
The region left clear by crops and playback controls. Check the destination preview rather than assuming fixed margins.

In practice

  • Review real titles at phone size and normal playback speed.
  • Separate text from busy footage with a deliberate backing or a calmer composition.
  • Check captions, crops and overlays in the destination preview before release.

Avoid

  • Approving text only from a paused, full-size editor preview.
  • Treating one font size, opacity or bitrate as a guarantee of readability.
  • Assuming fixed safe-area measurements apply to every platform placement.
Test

Upload a 10-second title card. Download the platform encode. Watch it on a phone at arm's length. If you cannot read it in one look, reset the type.

Use the Bitrate & File Size to estimate the file size for a chosen duration and bitrate. Then check text clarity in the exported video; the estimate does not measure visual quality.

Principle 4 of 4 · 04Full entry

Give the opening a clear purpose

The idea

Establish the subject and a reason to continue at the start.

The opening establishes the subject and gives someone a reason to continue. In a feed, that often needs to happen immediately because the video appears among unrelated posts. A tutorial can open on its result; a product film can show the problem it resolves; an interview can begin with the question that makes the answer matter.

The first three seconds are a useful review window for short social work, not a universal attention limit. A film made for an audience already seated and expecting it can earn a slower beginning. Decide what the viewer already knows, where they will encounter the film and what the opening needs to establish.

Watch the opening by itself and ask what you expect to see next. Then check whether the film fulfils that expectation. A striking shot that promises an unrelated story can attract attention and still mislead. Place branding where it supports recognition without delaying the subject; the end card is one option, not the only valid place for a mark.

How to see it

Compare a generic introduction with a specific outcome. Which one explains what this video offers?

Terms used in this lesson

The parts

Opening
The first useful information the viewer receives, in picture, sound or text.
Subject
What the film is about. Make it recognisable in the context where it will be encountered.
Identity
Branding that supports recognition without unnecessarily delaying the subject.
Promise
What the opening leads the viewer to expect. The rest of the film should fulfil it.

In practice

  • Establish the subject with a specific image, result or question.
  • Match the opening pace to the audience and viewing context.
  • Make the rest of the film deliver what the opening promises.

Avoid

  • Using a brand sting as the default opening regardless of context.
  • Choosing a surprising image unrelated to the actual subject.
  • Applying a three-second rule without considering the format or audience.
Test

Watch 0:00 to 0:03, then stop. If you would not continue as a stranger, recut the open.

Use the Aspect Ratio & Frame to work out the frame dimensions for each delivery format, then review how the opening composition fits each crop.

Video & Editing, in practice

View full size ↗
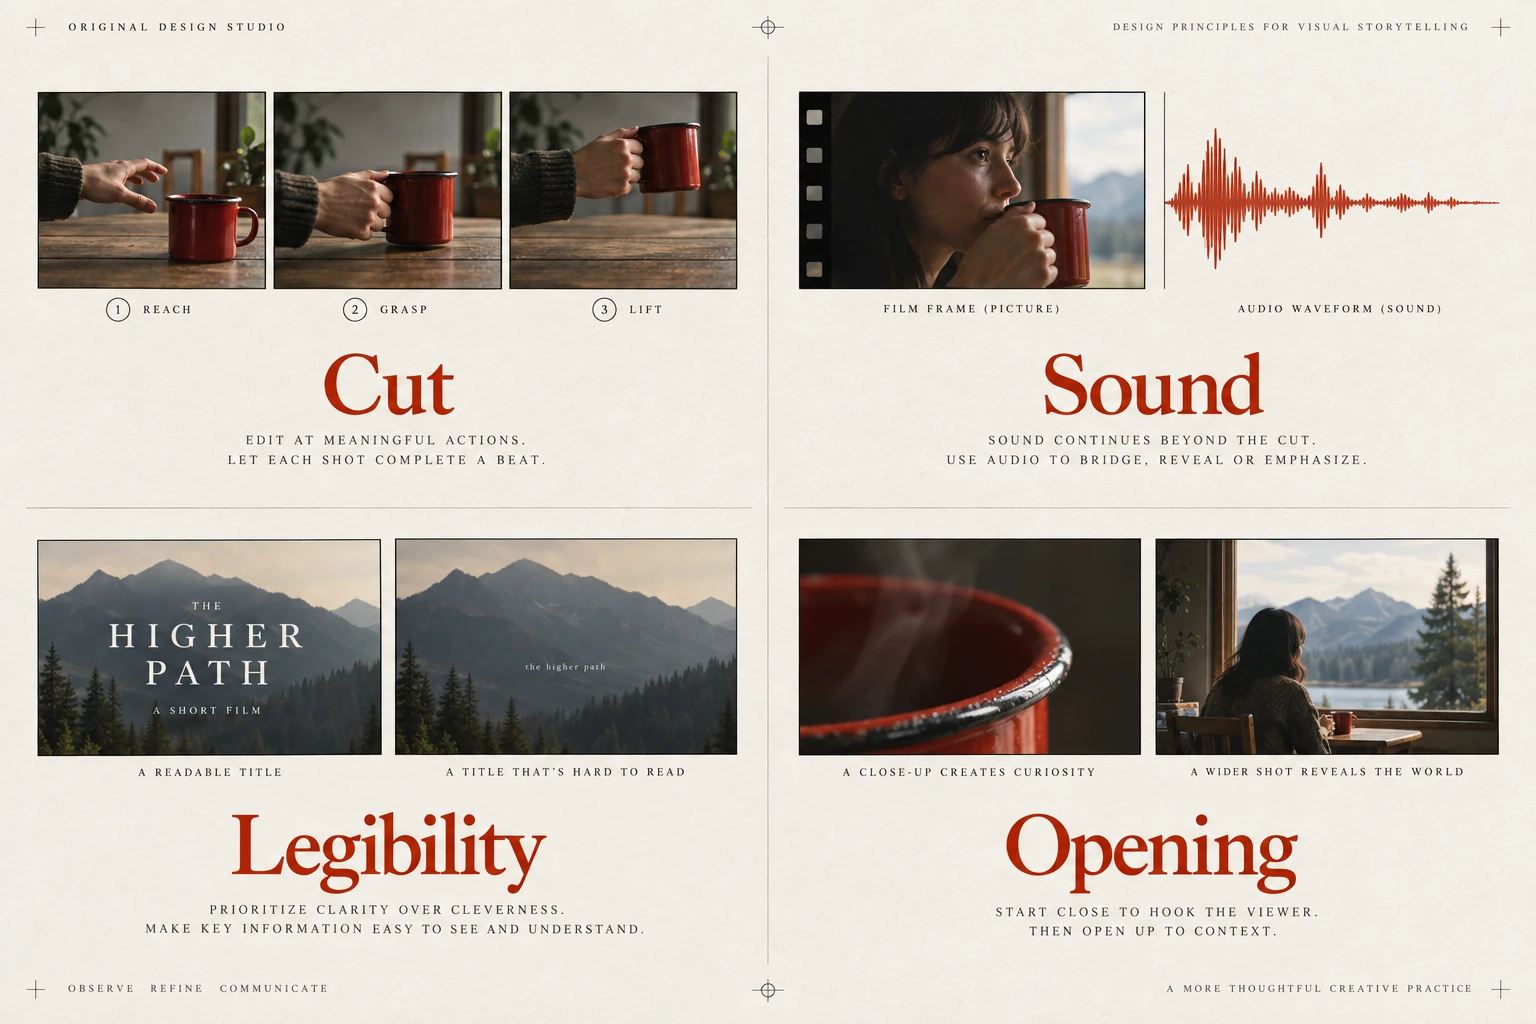
Four visual examples of video & editing: cut on the change of intent; sound is half the picture; legibility survives compression; give the opening a clear purpose.

Four principles at a glance

  1. 01

    Cut on the change of intent

    Cut when the idea changes, not when the shot goes stale.

  2. 02

    Sound is half the picture

    Mix for a phone speaker in a noisy room, then check it on headphones.

  3. 03

    Legibility survives compression

    Judge titles in the delivered video, at the size and speed people will actually watch.

  4. 04

    Give the opening a clear purpose

    Show why the video is worth watching before asking the audience to wait.

Apply it

Score your work against this discipline.

An audit reviews what you have shipped against all ten disciplines, tested with assistive technology and on real hardware, and returns a prioritised plan.